
How to Make Cafe-Quality Coffee at Home Without Buying Expensive Gear
Discover how to make cafe-quality coffee at home using the tools you already own. Learn the fundamental brewing principles to transform your daily cup into a professional experience.
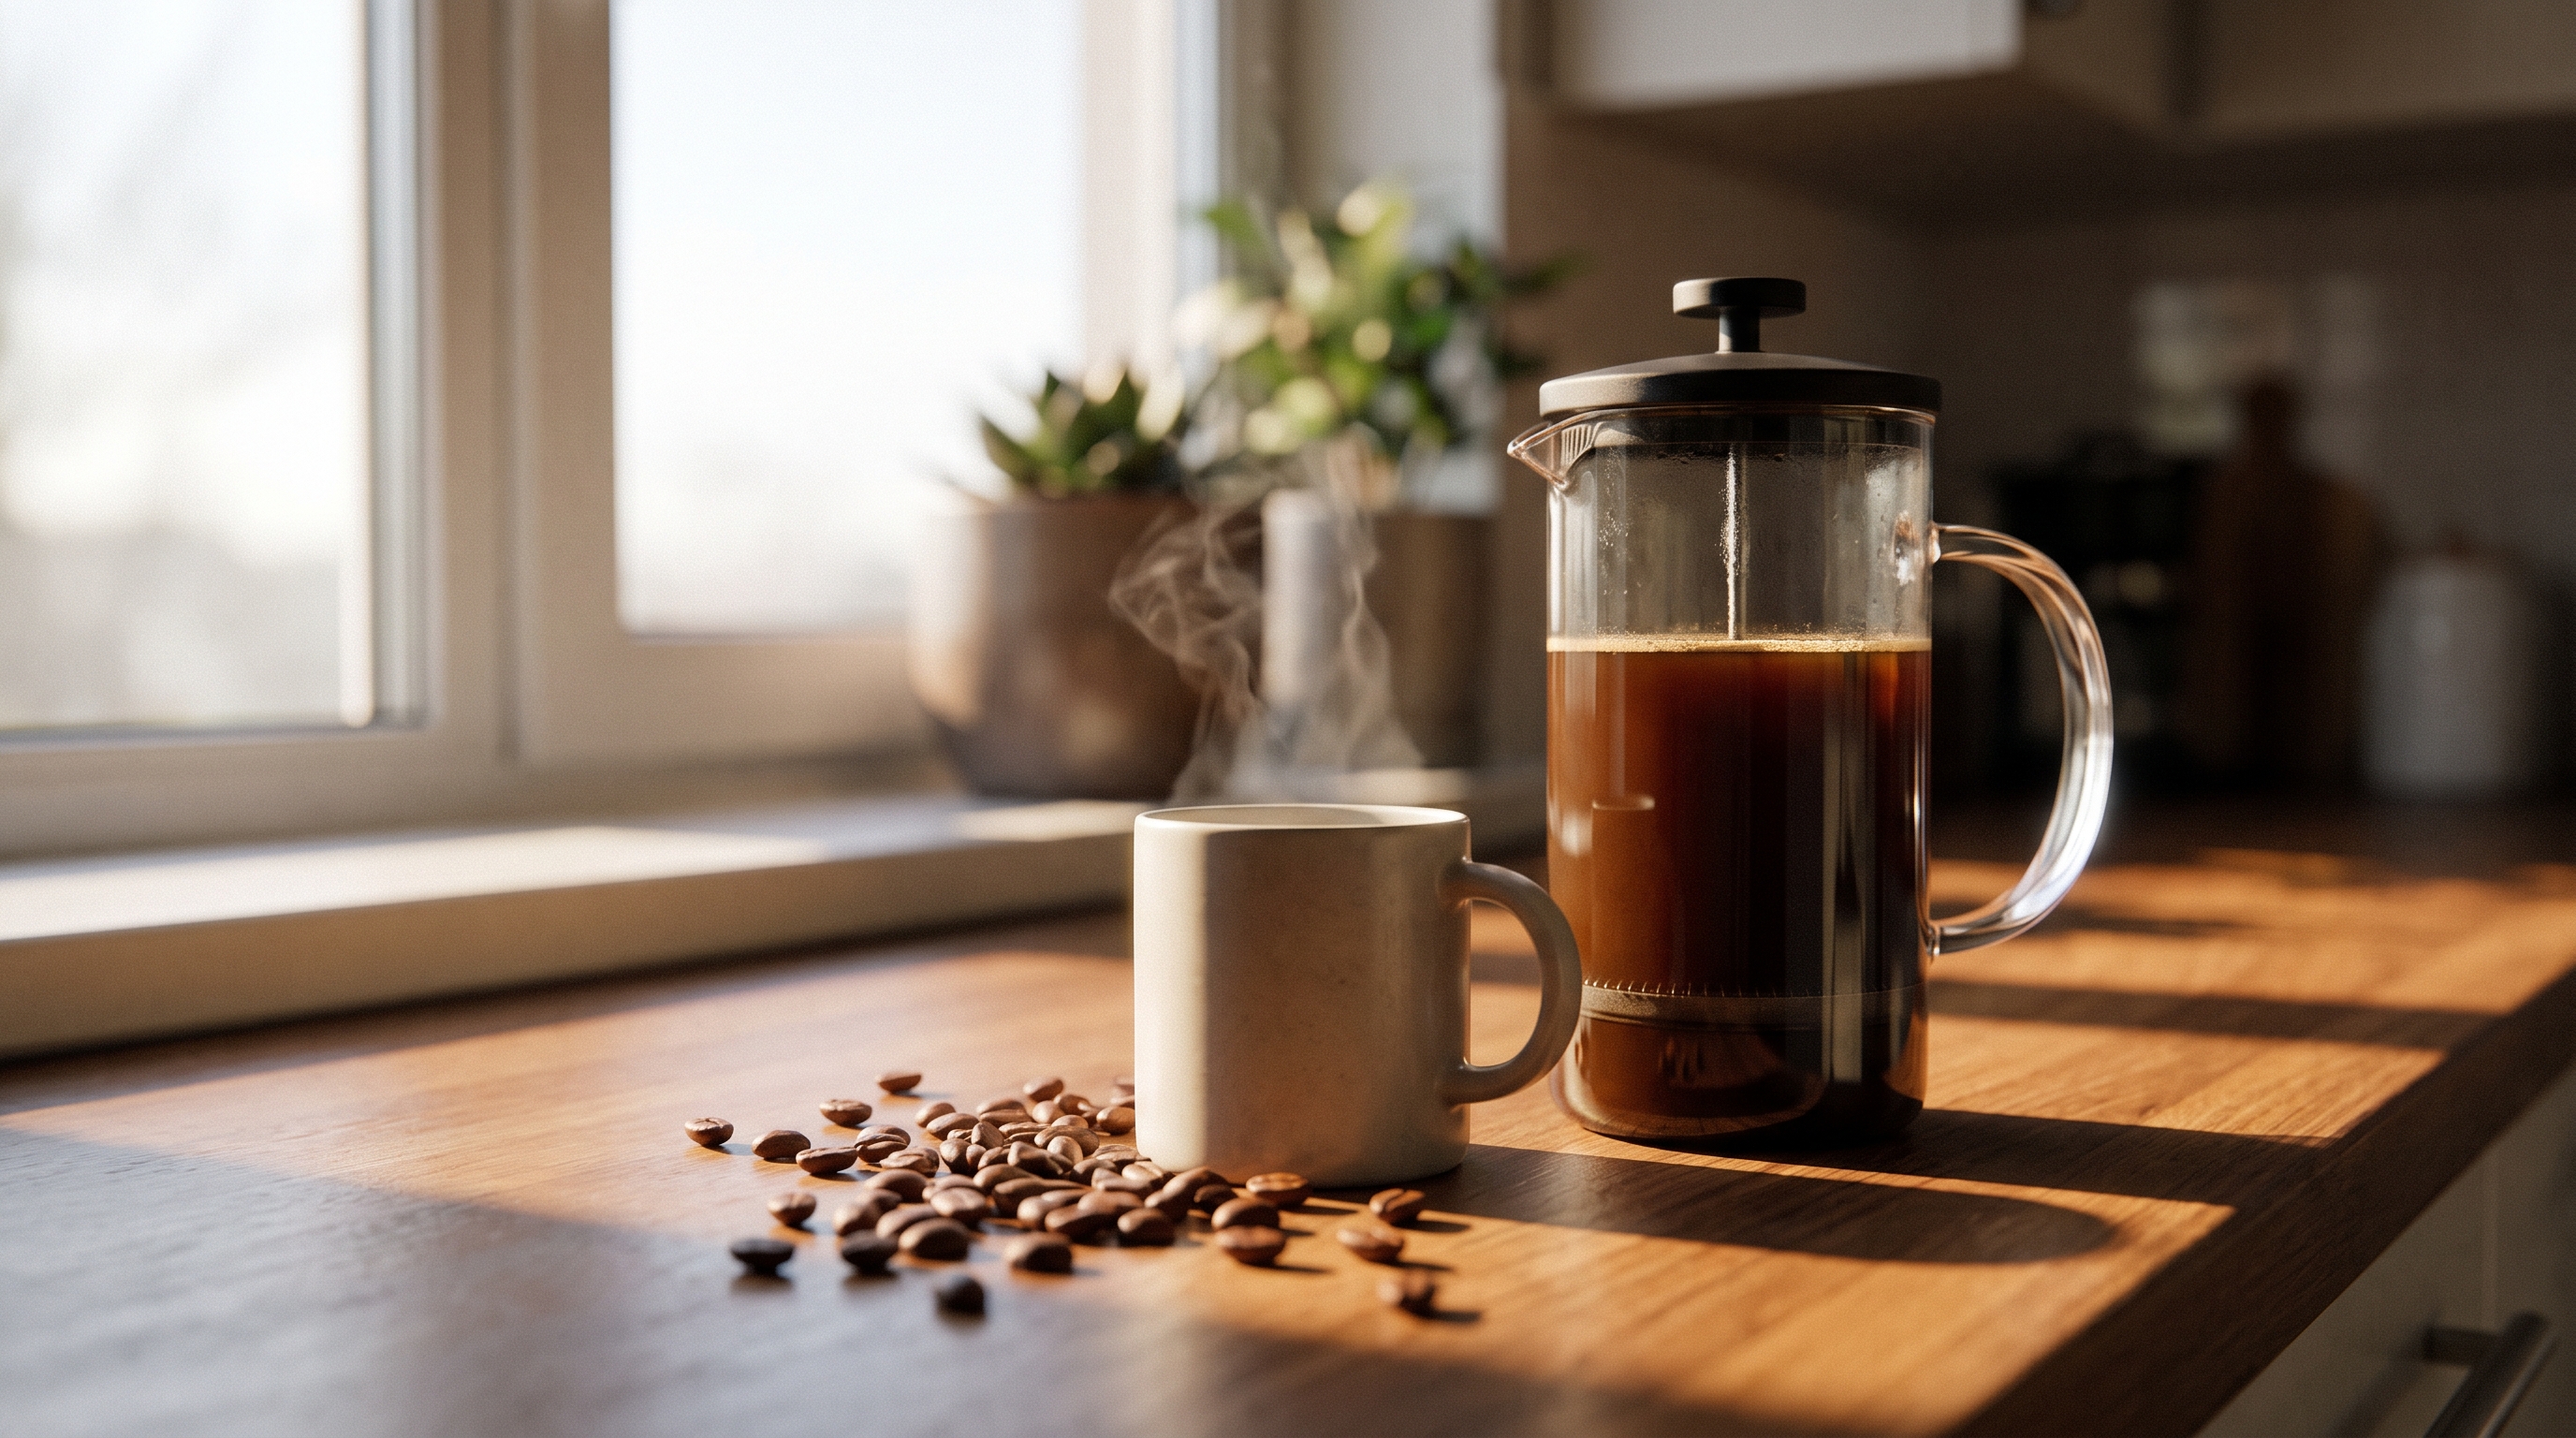
A widespread misconception among consumers is that brewing cafe-quality coffee requires four-figure espresso machinery, automated single-boiler systems, or high-end commercial appliances. However, recent data from 2026 shows that while 85% of coffee drinkers prepare their daily cup at home, a significant majority experience bitter, sour, or watery cups. The reality is that the best way to brew coffee relies entirely on physical and chemical variables, not luxury equipment. Making good coffee consistently is about mastering fundamentals: water temperature, brew ratios, grind uniformity, and bean freshness.
Whether you are using a standard drip maker, a simple French press, or a manual pour-over cone, this guide will show you how to extract a balanced, complex cup using the kitchen tools you likely already own.
The Science of Extraction: Why Process Beats Equipment
Specialty coffee standards define a perfectly balanced cup through objective measurements. According to the Specialty Coffee Association (SCA) Golden Cup Standard, a balanced coffee achieves a Total Dissolved Solids (TDS) strength between 1.15% and 1.35%, with an extraction yield of 18% to 22% of the dry coffee mass dissolved into the solution.
When coffee falls outside this window, the flavor degrades rapidly:
Under-Extracted (<18% Yield): Tastes sour, sharp, thin, and hollow. This happens when water is too cool, the grind is too coarse, or the brew time is too brief.
Over-Extracted (>22% Yield): Tastes bitter, harsh, and astringent. This occurs when water is too hot, the grind is too fine, or the brew time is too long.
4 Steps to Master Your Daily Brew
1. Always Start with Fresh Roasted Coffee
The foundation of any cafe-level cup is whole-bean fresh roasted coffee. As highlighted by Torque Coffee's Barista Analysis, grocery store bags that display only a distant "Best By" date have often sat in warehouses for 6 to 12 months, losing their volatile aromatic organic compounds and oxidizing lipid oils.
For peak flavor and sweetness, use fresh coffee beans between 7 and 30 days post-roast. Coffee needs a degassing period of 48 to 72 hours after roasting to emit high concentrations of carbon dioxide (CO2). Always store your beans in an airtight container with a one-way degassing valve, avoiding direct sunlight, moisture, and the freezer.
2. Master the Golden Ratio (Ditch the Volumetric Scoop)
One of the most frequent sources of poor home coffee is measuring coffee and water with volumetric spoons. According to Coffee Craft Guide's Brewing Analysis, a tablespoon of dense light-roast coffee weighs 7 to 9 grams, whereas a tablespoon of dark-roasted coffee weighs only 5 to 6 grams. Measuring by volume causes massive unintentional variances in your dose.
The solution is to use a basic kitchen scale. Aim for these baseline mass ratios:
Pour-Over and Standard Drip: 1:16 to 1:17 (e.g., 20g ground coffee to 320g water)
SCA Baseline: 1:18 (55g coffee per 1 Liter of water)
French Press (Immersion): 1:15 (for a richer, heavier mouthfeel)
3. Optimize Water Temperature and Quality
Coffee in a cup is roughly 98.5% water. If you use unfiltered, chlorinated tap water, it will mask the delicate flavor notes of your beans. A standard activated carbon pitcher filter removes chlorine and bad odors at a negligible cost per cup, providing the ideal ~150 mg/L TDS mineral base required to extract sweet fruit sugars.
Once filtered, water acts as the chemical solvent. Research published by Diving Moose Coffee indicates water must be maintained between 195°F and 205°F (90°C to 96°C) to properly dissolve complex sucrose and caramelized sugars.
The Zero-Cost Kettle Hack: If you don't have a temperature-controlled gooseneck kettle, bring your water to a rolling boil (212°F) and let it sit off the heat for 30 to 45 seconds. This reliably drops the temperature into the sweet spot of 198°F–202°F.
4. Perform a 45-Second Bloom
Skipping the "bloom" phase is a primary reason home coffee tastes astringent or hollow. As documented by the Home Barista Guide, blooming forces trapped CO2 gas out of the cell matrix.
To bloom your coffee, simply pour hot water equal to two to three times the dry dose weight (e.g., 40g to 60g of water for a 20g dose) over the grounds. Wait 30 to 45 seconds before continuing your main pour. If water is poured continuously without a bloom, the escaping CO2 pushes the water away from the particles, causing "channeling" where water bypasses clumps and over-extracts narrow paths.
How Higher Grounds Coffee Approaches Brewing Education
Understanding extraction variables is at the core of true specialty coffee culture. Higher Grounds Coffee, a B Corp-certified specialty roaster based in Traverse City, Michigan, approaches home brewing through a rigorous sensory education lens.
By operating a Learning Lab staffed by an Authorized SCA Trainer and a Licensed Q Grader, Higher Grounds demystifies coffee extraction science for everyday drinkers. Their commitment to quality is evident in their triple-cupping quality assurance process—cupping lots at origin, during import, and at the roastery to dial in exact profiles. By roasting small-batch microlots and signature blends to order via a transparent direct-trade model, they ensure home brewers always start with beans at their peak degassing window.
Quick Troubleshooting Guide
Even with great beans, minor adjustments are sometimes necessary to make your coffee the best it can be. Use this quick reference to dial in your cup:
If your coffee tastes sour, sharp, or thin (Under-Extracted): Grind your beans finer, increase your water temperature, or extend the brew time.
If your coffee tastes bitter, harsh, or dry (Over-Extracted): Grind your beans coarser, lower the water temperature, or shorten the brew contact time.
FAQ: Perfecting Your Home Brew
How can I make better coffee at home without buying a new machine?
To dramatically improve home coffee quality without purchasing a new machine, focus on four zero-cost and low-cost process adjustments: buying fresh beans, measuring by weight, optimizing water temperature, and performing a 45-second bloom.
Specifically, you should:
Switch to fresh whole beans: Use specialty coffee roasted within the last 7 to 30 days rather than grocery store beans with vague "Best By" dates.
Measure by weight (1:16 Ratio): Ditch volumetric tablespoons and use an inexpensive kitchen scale. Measure 1 gram of coffee for every 16 to 17 grams of water.
Optimize water temperature (195°F–205°F): Bring tap water to a boil and let it sit off heat for 30 to 45 seconds before pouring. Use carbon-filtered water to eliminate chlorine taint.
Perform a 45-second bloom: Pour twice the coffee's weight in water over dry grounds and wait 30 to 45 seconds to release trapped CO2 gas before finishing your brew cycle.
Deep clean old equipment: Scrub mineral deposits and rancid coffee oils from your carafe and brew head using warm water and baking soda or vinegar.
By following these principles and treating brewing as a simple chemical extraction rather than a mechanical process, you can achieve brilliant, cafe-quality results in your own kitchen every single morning.